입력 이미지 준비하기
원래의 ResNet50 모델은 224 x 224 픽셀 크기의 이미지와 여러 전처리 과정을 사용해 학습되었습니다. 예를 들어, 모든 학습 이미지에 대해 학습 세트의 평균 픽셀 값을 빼는 방식이 있습니다. 예측에 사용할 이미지도 같은 방식으로 전처리해야 합니다.
단일 이미지로 예측할 때는 모델의 입력 형태에 맞춰야 합니다. 이 경우 입력 형태는 다음과 같습니다:
(batch-size, width, height, channels). axis = 0인 np.expand_dims는 배치 크기 차원을 추가하며, 단일 이미지를 예측에 전달함을 나타냅니다. 이번에는 한 장만 예측하므로 배치 크기는 1입니다.
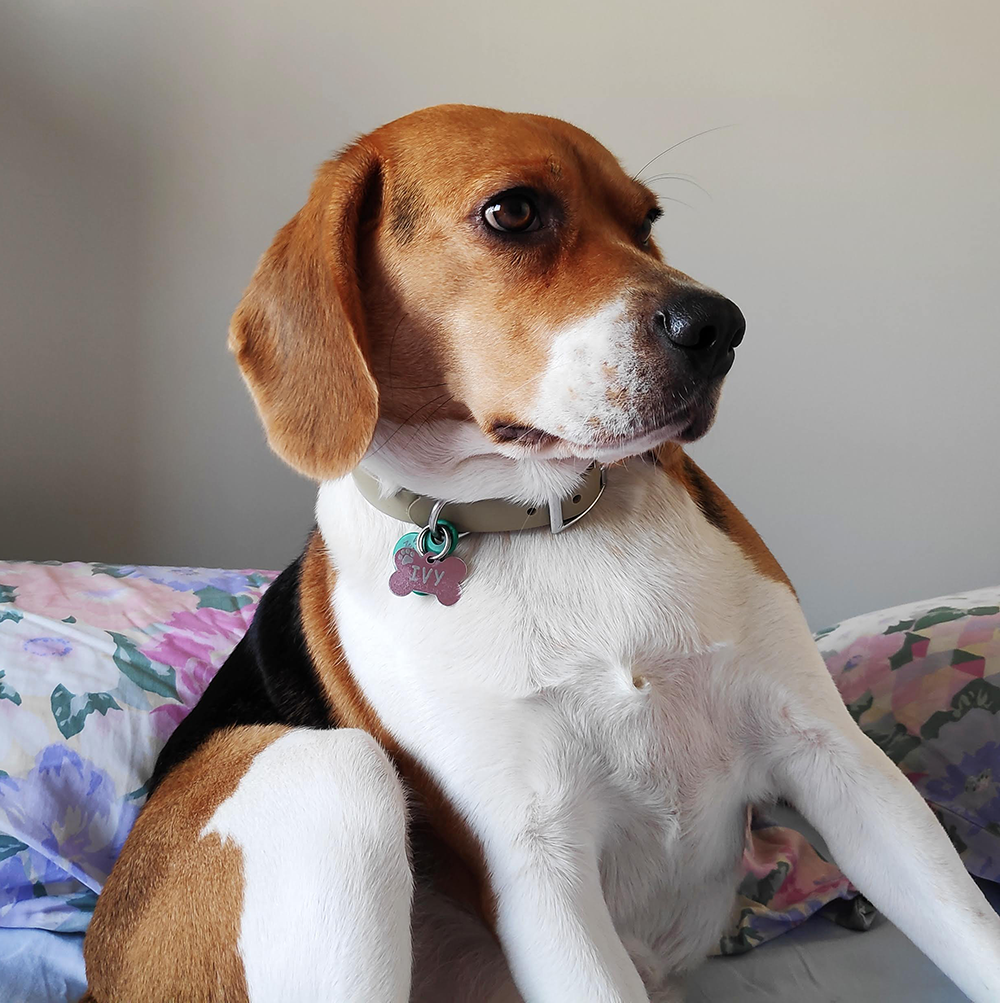
이제 강아지(이름은 Ivy)의 이미지를 ResNet50이 분류할 수 있는 형태로 준비하면서 이러한 전처리 단계를 차례로 진행해 보겠습니다.
이 연습은 강의의 일부입니다
Keras로 시작하는 딥 러닝
연습 안내
tensorflow.keras.preprocessing에서image를,tensorflow.keras.applications.resnet50에서preprocess_input을 임포트하세요.- 모델에 맞는
target_size로 이미지를 로드하세요. image.img_to_array()로 배열로 변환하세요.- 원래 ResNet50 학습 이미지와 동일한 방식으로
preprocess_input()을 사용해img_expanded를 전처리하세요.
실습형 인터랙티브 연습
이 예제를 이 샘플 코드를 완성하여 풀어보세요.
# Import image and preprocess_input
from tensorflow.keras.____ import ____
from tensorflow.keras.____.____ import ____

# Load the image with the right target size for your model
img = image.load_img(img_path, target_size=(____, ____))

# Turn it into an array
img_array = image.____(____)

# Expand the dimensions of the image, this is so that it fits the expected model input format
img_expanded = np.expand_dims(img_array, axis = 0)

# Pre-process the img in the same way original images were
img_ready = ____(____)