影像前處理
在這個練習中,你會使用 flickr 資料集。它包含 30,000 張影像與對應標題,用來對影像進行前處理。這些前處理能讓影像資料適合用於 Hugging Face 的各種模型任務,例如從影像產生文字標題。這次你要為下列影像產生一段文字說明:
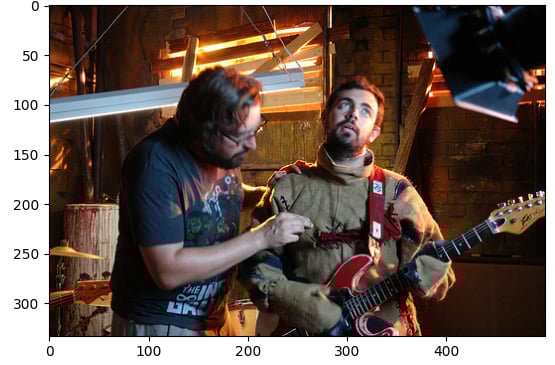
資料集(dataset)已載入,結構如下:
Dataset({
    features: ['image', 'caption', 'sentids', 'split', 'img_id', 'filename'],
    num_rows: 10
})
影像字幕模型(model)已載入。
本練習屬於課程
使用 Hugging Face 的多模態模型
練習說明
- 從資料集索引
5的元素載入影像。 - 載入預訓練模型
Salesforce/blip-image-captioning-base的影像處理器(BlipProcessor)。 - 在
image上執行處理器,並指定回傳 PyTorch 張量(pt)。 - 使用
model的.generate()方法產生影像說明。
動手互動練習
試著完成這個範例程式碼,體驗一下這個練習。
# Load the image from index 5 of the dataset
image = dataset[5]["____"]

# Load the image processor of the pretrained model
processor = ____.____("Salesforce/blip-image-captioning-base")

# Preprocess the image
inputs = ____(images=____, return_tensors="pt")

# Generate a caption using the model
output = ____(**inputs)
print(f'Generated caption: {processor.decode(output[0])}')
print(f'Original caption: {dataset[5]["caption"][0]}')