目标检测
在本练习中,您将继续使用之前的 flickr 数据集,其中包含 30,000 张图像及其对应的标题。现在,您将查找模型检测到的目标的边界框。
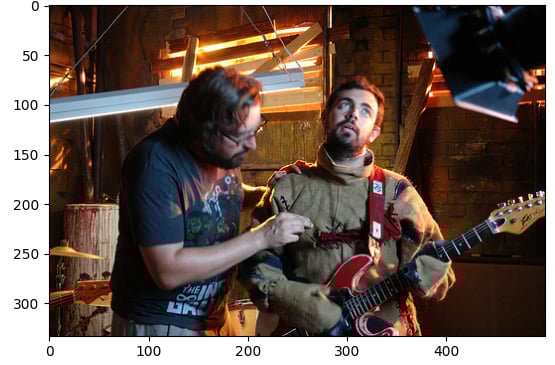
示例图像(image)和管道模块(pipeline)已加载。
本练习是课程的一部分
使用 Hugging Face 的多模态模型
练习说明
- 使用
facebook/detr-resnet-50预训练模型加载object-detection管道。 - 找到已检测目标的
label。 - 找到对应的置信度
score。 - 找到已检测目标的边界框
box坐标。
交互式实操练习
通过完成这段示例代码来试试这个练习。
# Load the object-detection pipeline
pipe = pipeline("____", "____", revision="no_timm")
pred = pipe(image)
outputs = pipe(image)

for n, obj in enumerate(outputs):
    # Find the detected label
    label = ____
    # Find the confidence score of the prediction
    confidence = ____
    # Obtain the bounding box coordinates
    box = ____

    plot_args = {"linewidth": 1, "edgecolor": colors[n], "facecolor": 'none'}
    rect = patches.Rectangle((box['xmin'], box['ymin']), box['xmax']-box['xmin'], box['ymax']-box['ymin'], **plot_args)
    ax.add_patch(rect)
    print(f"Detected {label} with confidence {confidence:.2f} at ({box['xmin']}, {box['ymin']}) to ({box['xmax']}, {box['ymax']})")

plt.show()