準備你的輸入影像
原始的 ResNet50 模型是用大小為 224 x 224 像素的影像訓練,並套用了多個前處理步驟;例如,對所有訓練影像扣除訓練集的像素平均值。你要以相同方式前處理要拿來做預測的影像。
當你要對單張影像進行預測時,必須符合模型的輸入形狀。在這個例子中為:
(batch-size, width, height, channels),使用 np.expand_dims 並設定參數 axis = 0 可以新增 batch-size 維度,表示會以單張影像進行預測。由於只預測一張影像,這個 batch-size 的值就是 1。
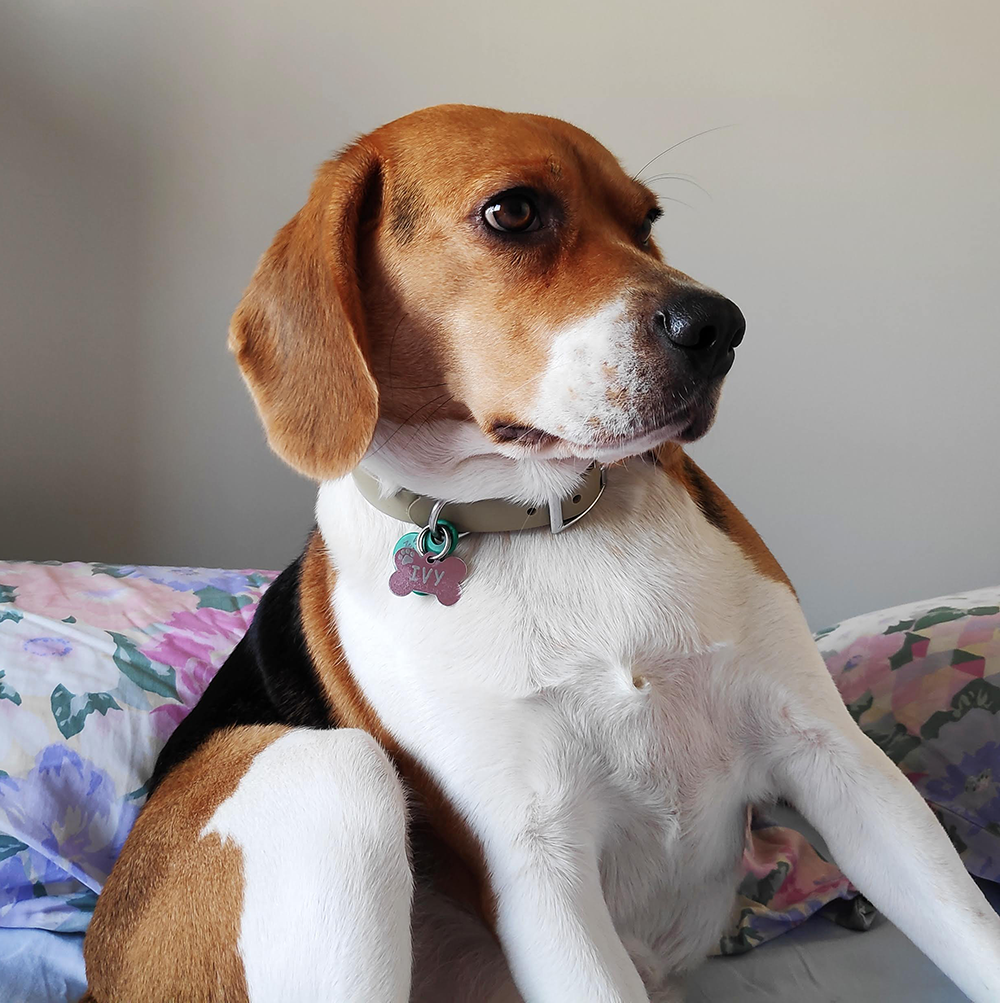
接下來你會依序完成這些前處理步驟,把這隻狗(名字叫 Ivy)的照片準備成 ResNet50 可以分類的輸入。
本練習屬於課程
Keras 深度學習入門
練習說明
- 從
tensorflow.keras.preprocessing匯入image,並從tensorflow.keras.applications.resnet50匯入preprocess_input。 - 以符合模型的
target_size載入影像。 - 使用
image.img_to_array()將影像轉成陣列。 - 使用
preprocess_input(),以與原始 ResNet50 訓練影像相同的方式前處理img_expanded。
動手互動練習
試著完成這個範例程式碼,體驗一下這個練習。
# Import image and preprocess_input
from tensorflow.keras.____ import ____
from tensorflow.keras.____.____ import ____

# Load the image with the right target size for your model
img = image.load_img(img_path, target_size=(____, ____))

# Turn it into an array
img_array = image.____(____)

# Expand the dimensions of the image, this is so that it fits the expected model input format
img_expanded = np.expand_dims(img_array, axis = 0)

# Pre-process the img in the same way original images were
img_ready = ____(____)