De gegevens plotten
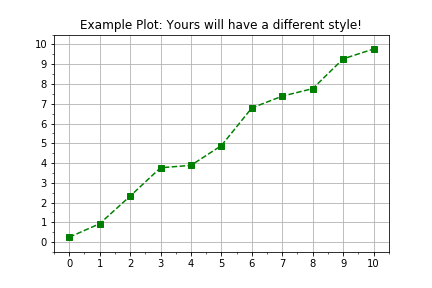
Alles in Python is een object, zelfs modules. In deze oefening herhaal je het gebruik van de objectgeoriënteerde interfaces van de Python-bibliotheek matplotlib om gemeten data te visualiseren in een flexibelere en beter uit te breiden workflow. De algemene plotting-workflow ziet er zo uit:
import matplotlib.pyplot as plt
fig, axis = plt.subplots()
axis.plot(x, y, color="green", linestyle="--", marker="s")
plt.show()
Deze oefening maakt deel uit van de cursus
Introductie tot lineaire modellering in Python
Oefeninstructies
- Gebruik
plt.subplots()om figure- en axis-objecten te maken. - Data zijn beschikbaar in twee vooraf gedefinieerde
numpy-arrays:timesendistances. - Gebruik
axis.plot()omtimesop de horizontale as endistancesop de verticale as te plotten. - Gebruik de keyword-argumenten
linestyle=" ",marker="o"encolor="red"wanneer jeaxis.plot()aanroept.
Interactieve oefening met praktijkervaring
Probeer deze oefening door deze voorbeeldcode aan te vullen.
# Create figure and axis objects using subplots()
fig, axis = plt.____()

# Plot line using the axis.plot() method
line = axis.plot(____ , ____ , linestyle="____", marker="____", color="____")

# Use the plt.show() method to display the figure
plt.____()