准备输入图像
原始的 ResNet50 模型是在尺寸为 224 x 224 像素的图像上训练的,并进行了若干预处理操作;例如对所有训练图像减去训练集的像素均值。您需要以相同方式预处理要进行预测的图像。
在对单张图像进行预测时,需要让它匹配模型的输入形状,本例为:
(batch-size, width, height, channels)。使用 np.expand_dims 并设置参数 axis = 0 可以添加 batch-size 这一维,表示将以单张图像进行预测。由于我们只预测一张图像,这个 batch-size 的值为 1。
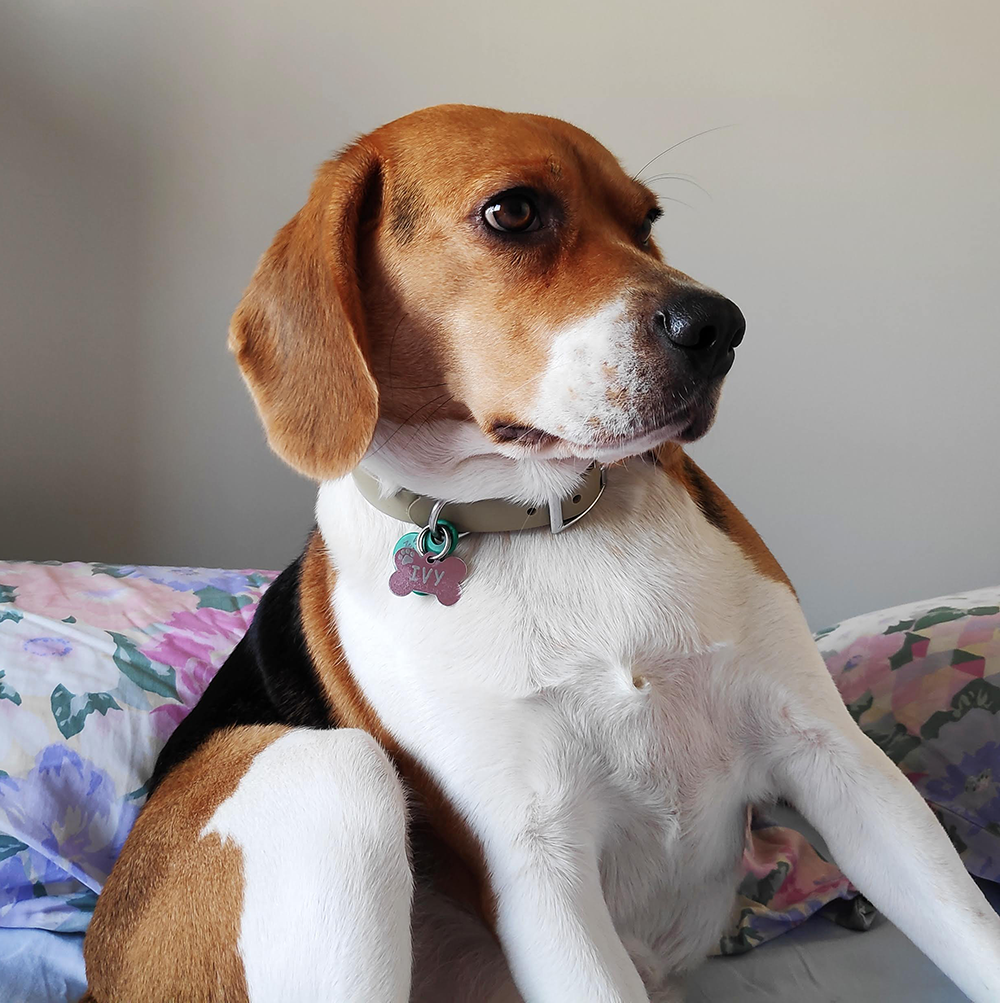
接下来,您将按这些预处理步骤,把这只名叫 Ivy 的狗的照片准备成可被 ResNet50 分类的输入。
本练习是课程的一部分
Keras 深度学习入门
练习说明
- 从
tensorflow.keras.preprocessing导入image,并从tensorflow.keras.applications.resnet50导入preprocess_input。 - 以适合模型的
target_size加载图像。 - 使用
image.img_to_array()将其转换为数组。 - 使用
preprocess_input()按与原始 ResNet50 训练图像相同的方式对img_expanded进行预处理。
交互式实操练习
通过完成这段示例代码来试试这个练习。
# Import image and preprocess_input
from tensorflow.keras.____ import ____
from tensorflow.keras.____.____ import ____

# Load the image with the right target size for your model
img = image.load_img(img_path, target_size=(____, ____))

# Turn it into an array
img_array = image.____(____)

# Expand the dimensions of the image, this is so that it fits the expected model input format
img_expanded = np.expand_dims(img_array, axis = 0)

# Pre-process the img in the same way original images were
img_ready = ____(____)