Preparing your input image
The original ResNet50 model was trained with images of size 224 x 224 pixels and a number of preprocessing operations; like the subtraction of the mean pixel value in the training set for all training images. You need to pre-process the images you want to predict on in the same way.
When predicting on a single image you need it to fit the model's input shape, which in this case looks like this:
(batch-size, width, height, channels),np.expand_dims with parameter axis = 0 adds the batch-size dimension, representing that a single image will be passed to predict. This batch-size dimension value is 1, since we are only predicting on one image.
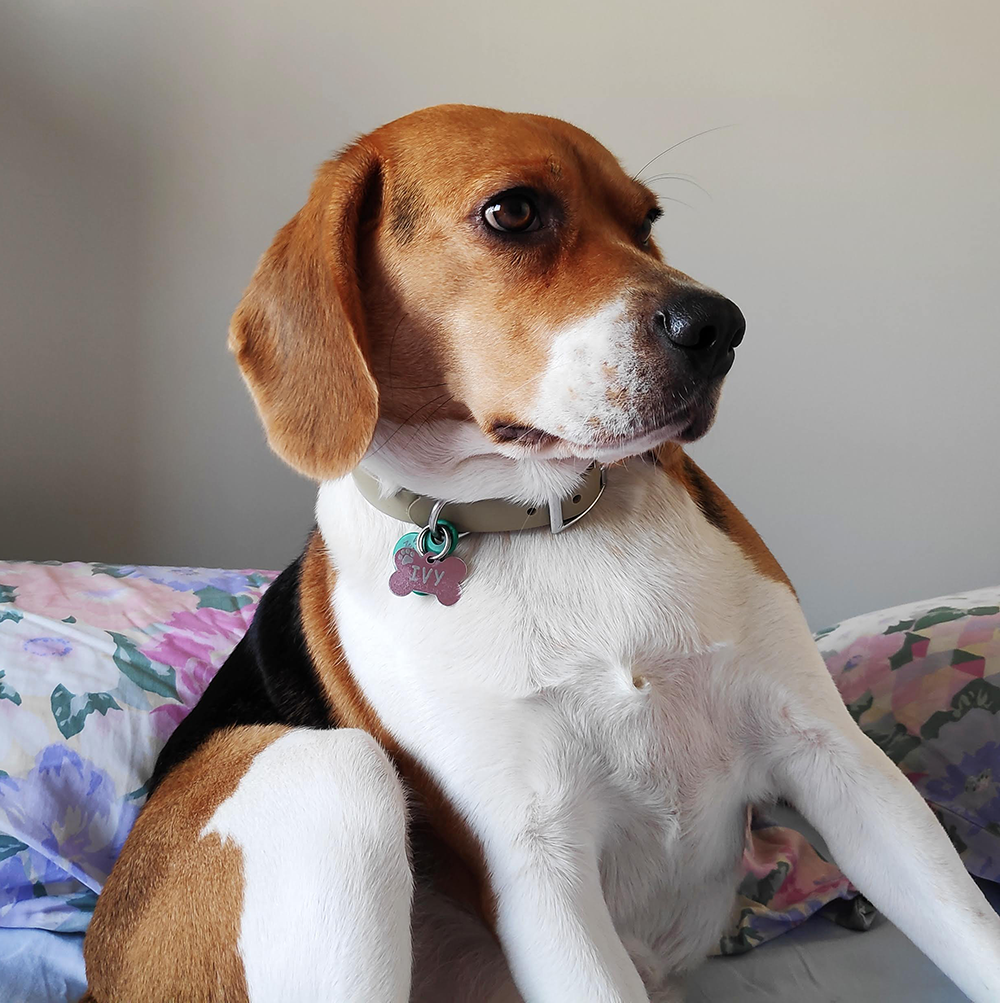
You will go over these preprocessing steps as you prepare this dog's (named Ivy) image into one that can be classified by ResNet50.
This exercise is part of the course
Introduction to Deep Learning with Keras
Exercise instructions
- Import
imagefromtensorflow.keras.preprocessingandpreprocess_inputfromtensorflow.keras.applications.resnet50. - Load the image with the right
target_sizefor your model. - Turn it into an array with
image.img_to_array(). - Pre-process
img_expandedthe same way the original ResNet50 training images were processed withpreprocess_input().
Hands-on interactive exercise
Have a go at this exercise by completing this sample code.
# Import image and preprocess_input
from tensorflow.keras.____ import ____
from tensorflow.keras.____.____ import ____

# Load the image with the right target size for your model
img = image.load_img(img_path, target_size=(____, ____))

# Turn it into an array
img_array = image.____(____)

# Expand the dimensions of the image, this is so that it fits the expected model input format
img_expanded = np.expand_dims(img_array, axis = 0)

# Pre-process the img in the same way original images were
img_ready = ____(____)