入力画像の準備
元の ResNet50 モデルは、224 x 224 ピクセルの画像と、いくつかの前処理(すべての学習画像で学習用データセットの平均画素値を減算する、など)で学習されています。予測に使う画像にも同じ前処理を適用する必要があります。
単一の画像で予測する場合でも、モデルの入力形状に合わせる必要があります。このケースでは次のようになります:
(batch-size, width, height, channels)。axis = 0 を指定した np.expand_dims は、バッチサイズ次元を追加し、1 枚の画像を predict に渡すことを表します。今回は 1 枚だけを予測するので、バッチサイズは 1 です。
これから、犬(名前は Ivy)の画像を ResNet50 で分類できる形式に整えるための前処理手順を実行していきます。
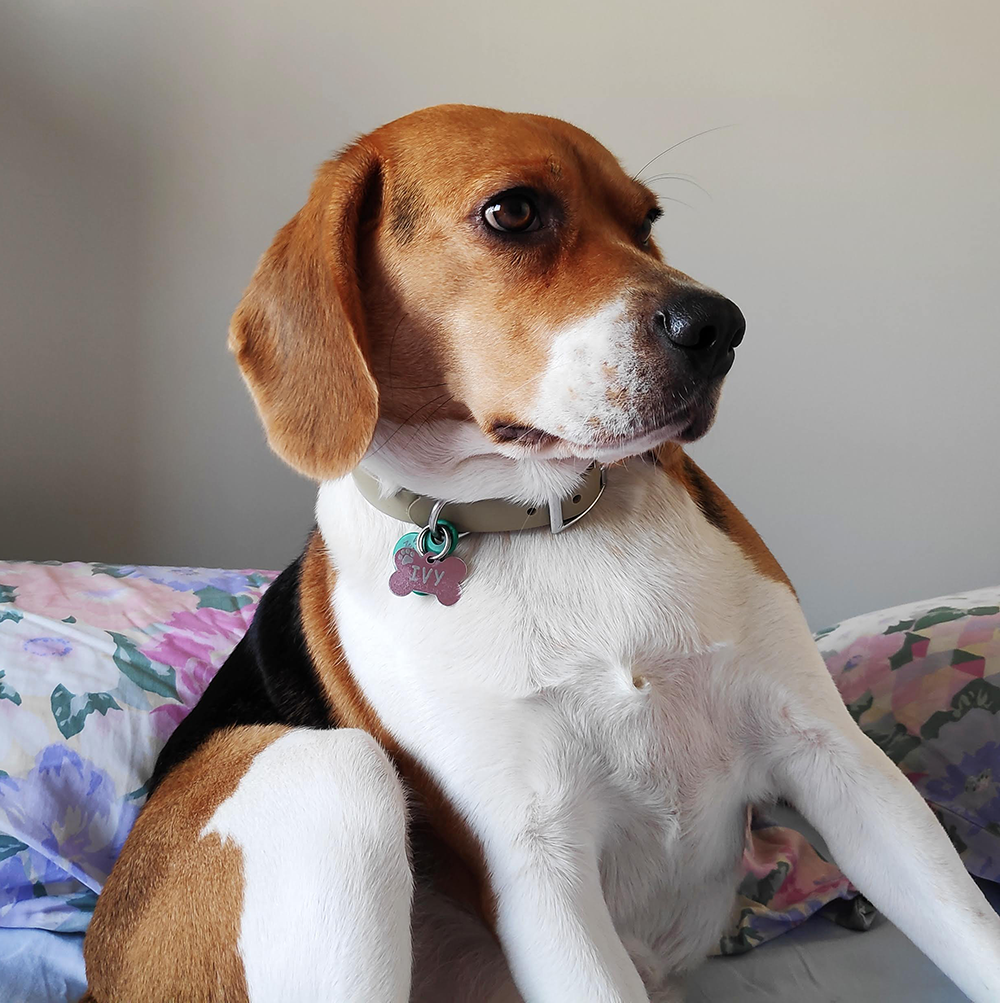
この演習はコースの一部です
Kerasで学ぶIntroduction to Deep Learning
演習の手順
tensorflow.keras.preprocessingからimage、tensorflow.keras.applications.resnet50からpreprocess_inputをインポートします。- モデルに合った
target_sizeで画像を読み込みます。 image.img_to_array()を使って配列に変換します。preprocess_input()を使って、元の ResNet50 の学習画像と同じ方法でimg_expandedを前処理します。
実践的なインタラクティブ演習
このサンプルコードを完成させて、この演習に挑戦してみましょう。
# Import image and preprocess_input
from tensorflow.keras.____ import ____
from tensorflow.keras.____.____ import ____

# Load the image with the right target size for your model
img = image.load_img(img_path, target_size=(____, ____))

# Turn it into an array
img_array = image.____(____)

# Expand the dimensions of the image, this is so that it fits the expected model input format
img_expanded = np.expand_dims(img_array, axis = 0)

# Pre-process the img in the same way original images were
img_ready = ____(____)